Presented to the MHSA Victoria Branch 22 October by Robin Drooglever
That Ragged Mob
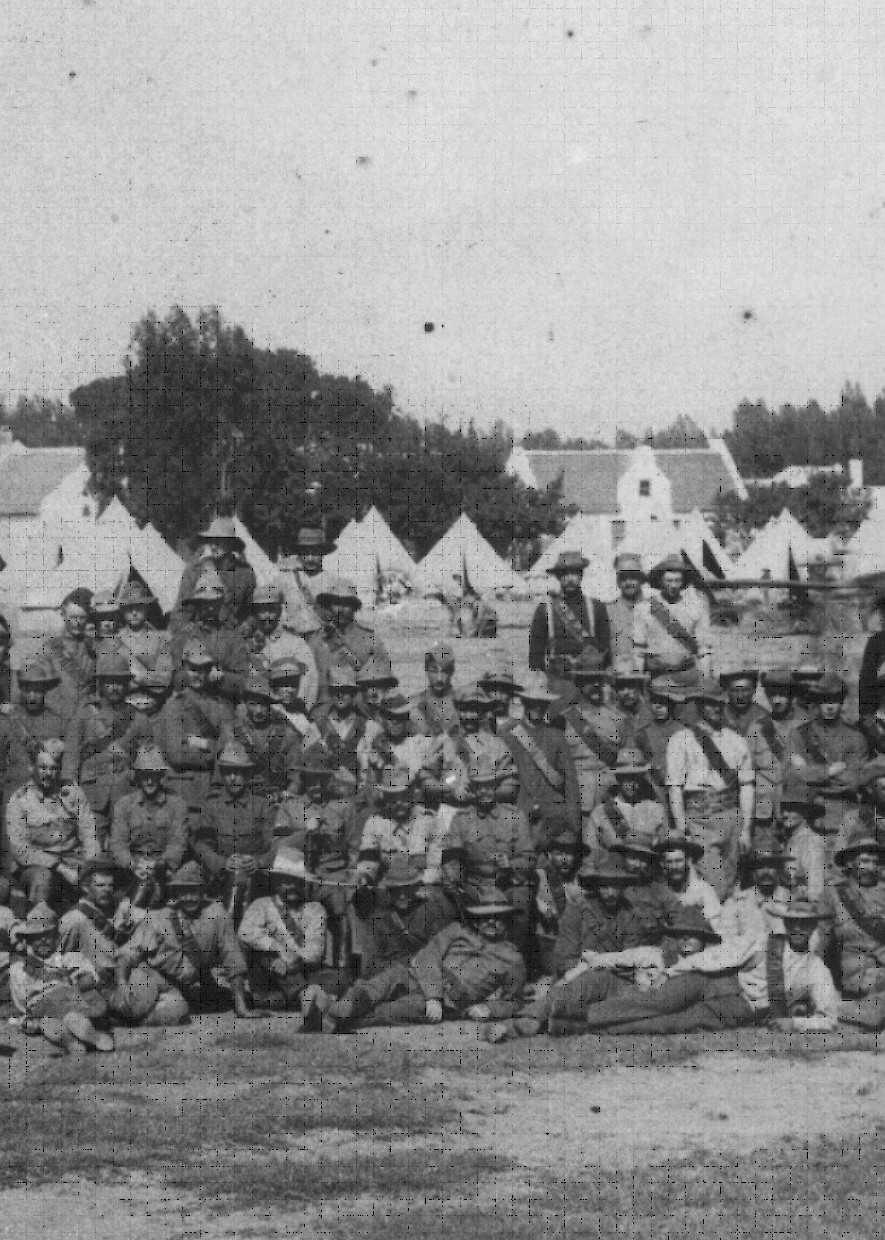
The Boer War Service of the 3rd & 4th Victorian Bushmen 1900-1901
The 3rd Contingent only numbered 276 in total when they left Melbourne on the Euryalus on 10 March 1900. The 4th numbered 629 when they left on the Victorian on 1 May 1900. The 3rd were paid for by the citizens and the state government of Victoria, whereas the 4th Contingent were jointly paid for by the Imperial Government and the State Government of Victoria, hence the appellation 'Imperial' being added to their title.
Both regiments were sent to Beira to join what many refer to as the northern front and to protect Rhodesia against a threat of invasion that never materialized.
The 3rd Victorian Bushmen were sent south to join Colonel Baden Powell whose primary task was to keep open the road open between Mafeking and Pretoria. Their first battle was at Koster River on 21st July; this was followed by Elands River Siege on 4th August involving 42 Victorian Bushmen. General Carrington who was in Rhodesia with the second wave of Australian Bushmen, known as the Imperial Bushmen, was ordered south to assist. Among this lot was two squadrons (A & B) of the Victorian 4th Bushmen Contingent. Carrington was so ineffective that his forces were taken over by Lord Methuen.
The 3rd Bushmen served with Baden Powell, then Colonel Henry Plumer. They were placed in General Arthur Paget's column and given the responsibility of keeping the area round Pretoria Boer-free. At Rhenoster Kop in late November 1900 the Victorian Bushmen lost a number of men. Thereafter Paget's column was used to search and destroy; a new strategy was implemented in December 1900: Boer farms were cleared of their inhabitants who were sent to places of safety, and then the buildings were destroyed and the livestock slaughtered or commandeered. It was not a task that the Victorian Bushmen enjoyed doing and one day they simply told their officers that they had had enough of this; they were sent to fight the Boer and not to clear women and children out of their homes.
Now to return to the 4th Victorian Imperial Bushmen. After Carrington was replaced by Lord Methuen two of the five squadrons (A & B) were attached to Methuen's Column. This was in August/September 1900. The remaining three squadrons languished in Rhodesia till the end of 1900. A & B were involved in clearing the Western Transvaal and in convoy protection. When Boer General de la Rey stood and fought at Hartebeestfontein in February 1901 Lord Methuen declared the battle the toughest he'd had since Magersfontein. The Victorians lost a number of good men there including their commander Colonel Nicholas Kelly who was shot in the thigh.
It was about this time that the remaining three squadrons in Rhodesia were called south to help in the chase for Boer General Christiaan De Wet in the Cape. While their A & B Squadrons were fighting at Hartebeestfontein, they got into skirmishes with De Wet's rearguard near Wolvekuilen. As untried troops they suffered the consequences when small patrols were ambushed and casualties were taken. But being Bushmen they adapted quickly and were soon on De Wet's tail and distinguished themselves.
The 3rd Contingent's final act was to chase after De Wet, lose him in the Free State and then be sent north to occupy Pietersburg in the Northern Transvaal, the last major town not to have been taken by the British. Their time was up. They made their way to Cape Town to catch the Morayshire home to Melbourne.
The 4th had some severe campaigning still to do. In April 1901 A & B Squadrons joined the others in the Cape and they were used to hunt Cape rebels in the eastern Cape. It was one of the toughest terrains to work in and the few months they were engaged there were among the most arduous of their period of service. The Boers used a hit and run strategy which cost a number of casualties, but by the end of June 1901 it was time for the 4th to go home as well. They had a relatively uneventful trip back on the Orient, reaching Melbourne on 12th July 1901.
The speaker:
Robin Droogleever is one of Australia's leading experts on Australia's involvement in the Boer War with more than 40 years of study of the conflict. 'That Ragged Mob' follows the highly regarded 'From the Front - The Boer War Despatches of Banjo Paterson', 'The War with Johnny Boer' (with Max Chamberlain) - Australian involvement in the Boer War through the eyes of Australian soldiers -and 'Inside Mafeking - the Mafeking Diary of Captain Herbert Greener', the man behind the Mafeking siege notes and stamps. Convener of the Anglo-Boer War Study Group, Robin breaks new ground with 'That Ragged Mob' - a genuine regimental history of these two Victorian Bushmen Contingents.


